Ports and Registers
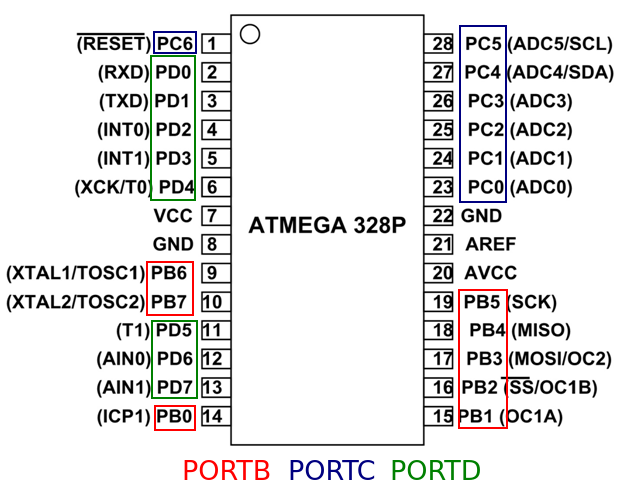
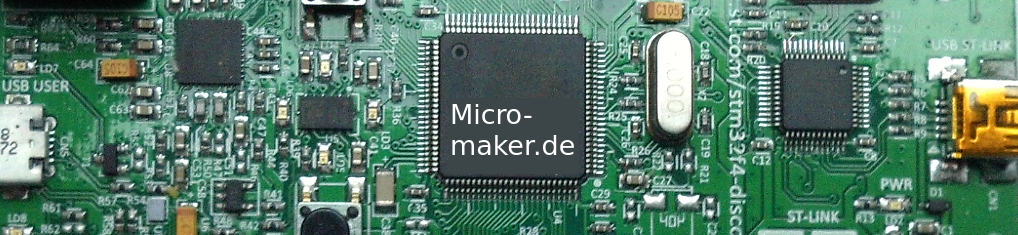
Ports in an ATmega328 microcontroller
When programming MCUs you will have to deal with ports and registers. Both share something in common but are different under certain aspects.
A “port” in an MCU is the interface between the controller’s inside and the “outer world”. It usually is presented by a number of electrical pins to the exterior that can exchange data (i. e. voltage levels like 0V or 3.3V resp. 5V but also analog values are possible) with the electronic circuit attached to it.
Internally it is formed by a set of parallel bits in an internal structure called a register. When you write some data to this register the port will react accordingly.
Except from port control register there a lots of other internal registers in addition. Like ports they are a structures of paralleled data (usually 8, 16 or 32 bits wide) and can be accessed by read and write operations. Some register are “read only”, to speak correctly, but most are R/W.
Bit handling in ports and registers
When you want to a port to do something (i. e. to present a voltage or a signal to a certain pin) setting a specific value in a register is daily routine to get direct access to the single bits of the respective register or a port. Each “position” in a register (or port) is represented by a certain “bit value”, starting with 1 and then doubling with each position to the left. Bit count always starts with “0” because 2⁰ equals 1:
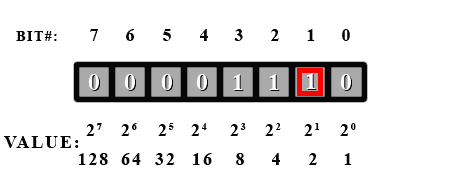
(Source Wikipedia)
When we want to change a single bit we must write code that changes a specific bit but not the whole port like this way:
PORTD = 123;
This instruction won’t work exactly in most cases but only when we want to set the whole port.
Setting a single bit to 0
Because we can not alter the whole port when only wanting to change a specific bit, we have to find another approach. Thus we have to access single bits in a way like this
PORTD &= ~(1 << 4);
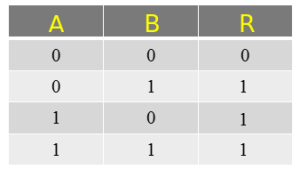
To reset a bit, 2 steps are required. First we use “&” as a logical “AND” operation. The truth table for this is:
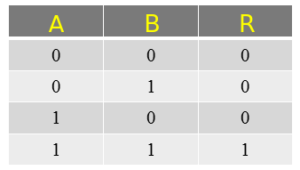
The current value of the bit to be set in the port may be input “A”. If you set input “B” to “0” then the result in the port’s register will be “0” in any case no matter what the value of input “A” (the current bit value in the respective port) is. An “AND” operation with a value of 0 on one of its “inputs” always results in 0.
The second step is to set the corresponding bit for the AND-operation to 0. This is done by reversing the bit by using the “~” operator. The value for our example is 16 (we ware talking about bit #4, please remember!) which here is coded as a
~(1 << 4)
bit shift operation. We shift the value of 1 exactly 4 times to the left, which results in the value of 16 (1 -> 2 -> 4 -> 8 -> 16).
Another possibility would have simply been
~16
which will produce the same result.
Hint: If you have integer values and want to do multiplication by 2 or multiples (4, 8, 16 etc.), use a bit shift instead of a “*” operator. Bit shifting is much faster as no floating point routines are involved.
Setting a single bit to 1
For this operation we use the OR operator:
The code used for setting a bit to 1 is:
PORTD |= (1 << 4);
No matter what the value of the bit selected currently is, by adding a “1” and an OR operation we will get “1” in any case.